Shopify Multilevel Filter functionality using Product Type & Tags
 Jan 9, 2018
In the real world, with any e-commerce system multilevel filtering is a core feature demanded by any of the business. Generally, with product’s attributes we are able to handle this case and is available by default in any e-commerce framework but in Shopify development it’s different. Like shopping cart solution, we are not getting any such feature and searching for any specific product under category can’t filter the needful product. So, it gets time-consuming for users to keep on searching for products without filters.
To achieve this result, Shopify collection pages filter functionality can be enhanced with Shopify custom code/CSS/jQuery. For it, add related tags to a particular product for multi-level filter functionality.
It is very useful for Shopify store which has variety of product listing. Due to its implementation, the customer can quickly find desired products in just a few clicks.
Use below custom code in default Shopify Theme – Debut Theme. Inject your custom code into Shopify template files for executing the functionality.
First of all, create a collection in Shopify website. Say, for example, create collection namely – My Style.

Also, add conditions of product tag – is equal to My Style. Here, conditions can be created as per desired products and tags.
Follow below instructions to create collection in Shopify:
- Log-in to Shopify Admin
- Click on products from left navigation menu of Shopify admin
- Click on Collecions link
- Create Collection, Add desired conditions and Click on Save
Add multiple tags to particular product for make multilevel filter work. Refer below screenshot and to get better idea regarding it’s functionality. My Style collection page is created and tags are added to all relevant products.
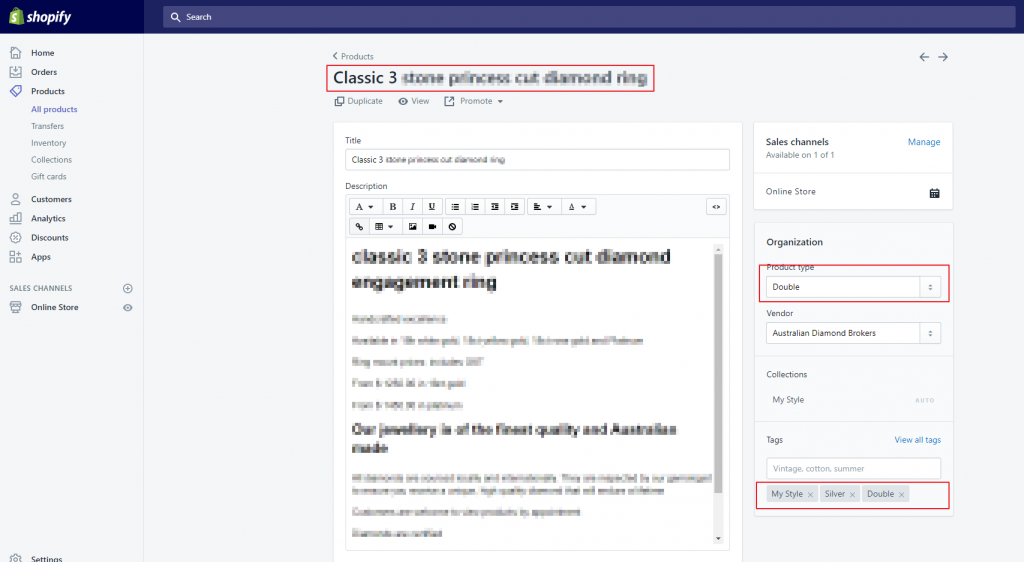
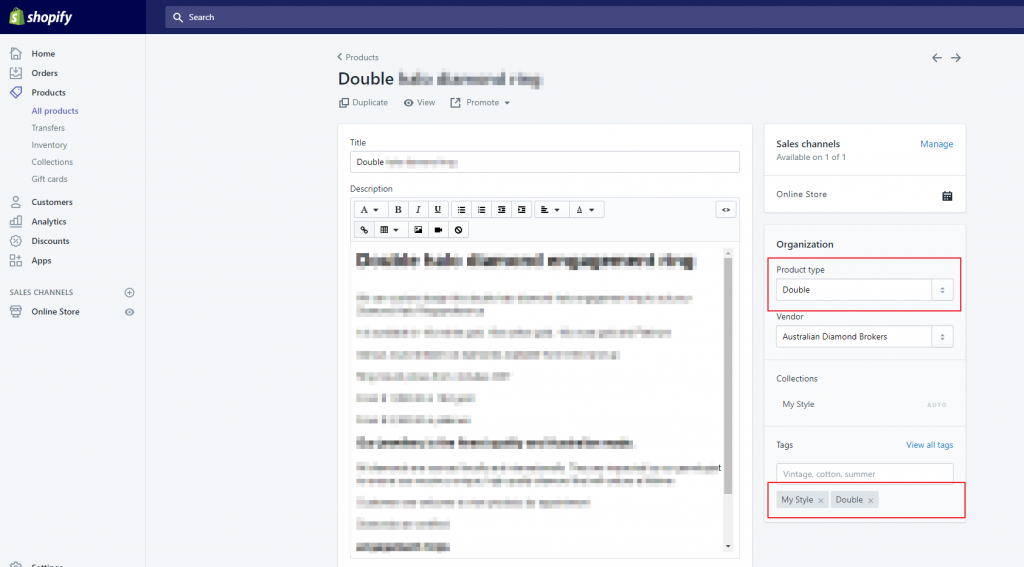
In above screenshot, its showcased how to added tags to relavant product. Now for filter, add custom code.
CSS code (This one is related to example given below and you can write this in custom CSS file of Theme) :
<style> .accordion_head { background-color: transparent; color: #333; cursor: pointer; font-family: arial; font-size: 14px; margin: 0 auto; padding: 7px 11px; font-weight: bold; width: 100%; display: inline-block; max-width: 1280px; text-align: center; } .plusminus { float: none; } .accordion_body { border-top: 1px solid #eaeaea; border-bottom: 1px solid #eaeaea; display: inline-block; width: 100%; max-width: 1280px; margin: 0 auto 20px auto; } .accordion_body ul { margin: 15px 0; text-align: center; } .accordion_body ul li { display: inline; padding: 0 10px; } .accordion_body ul li.active { font-weight: bold; } .accordion_head.close { margin: 0 auto; display: table; } .filters-toolbar-wrapper { display: none; } </style> |
Shopify Template Code :
Add below code in collection-template.liquid section template. To access this section follow below mentioned steps:
Log in admin Shopify > SALES CHANNELS > Online Store > Actions > Edit Code
Now, search for collection-template.liquid and modify it with following code. Replace the code only at places where filter option is required.
{% if collection.all_types.size != 1 %} <div class="accordion_head">Filter <span class="plusminus">+</span> </div> <div class="accordion_body" style="display: none;"> <ul> {% for type in collection.all_types %} {% for tag in type %} {% if current_tags contains tag %} <li class="active" data-tag="{{tag | handleize}}">{{ tag | append: '<span class="x">×</span>' | link_to_remove_tag: tag }}</li> {% else %} <li data-tag="{{tag | handleize}}">{{ tag | link_to_add_tag: tag }}</li> {% endif %} {% endfor %} {% endfor %} </ul> </div> {% endif %} |
jQuery Code :
<script> Shopify.queryParams = {}; if (location.search.length) { for (var aKeyValue, i = 0, aCouples = location.search.substr(1).split('&'); i < aCouples.length; i++) { aKeyValue = aCouples[i].split('='); if (aKeyValue.length > 1) { Shopify.queryParams[decodeURIComponent(aKeyValue[0])] = decodeURIComponent(aKeyValue[1]); } } } jQuery('#SortBy') .val('{{ collection.sort_by | default: collection.default_sort_by }}') .bind('change', function () { Shopify.queryParams.sort_by = jQuery(this).val(); location.search = jQuery.param(Shopify.queryParams); } ); jQuery(".accordion_head").click(function () { if (jQuery('.accordion_body').is(':visible')) { jQuery(".accordion_body").slideUp(300); jQuery(".plusminus").text('+'); } if (jQuery(this).next(".accordion_body").is(':visible')) { jQuery(this).removeClass('show'); jQuery(this).addClass('close'); jQuery(this).next(".accordion_body").removeClass('show'); jQuery(this).next(".accordion_body").addClass('close'); jQuery(this).next(".accordion_body").slideUp(300); jQuery(this).children(".plusminus").text('+'); } else { jQuery(this).removeClass('close'); jQuery(this).addClass('show'); jQuery(this).next(".accordion_body").slideDown(300); jQuery(this).next(".accordion_body").removeClass('close'); jQuery(this).next(".accordion_body").addClass('show'); jQuery(this).children(".plusminus").text('-'); } }); jQuery('.accordion_head').trigger('click'); </script> |
Note:- If collection page do not have jQuery library, then add jQuery libary and then above jQuery custom code.
Once above custom code is added in collection-template.liquid page, custom filter will be in action.
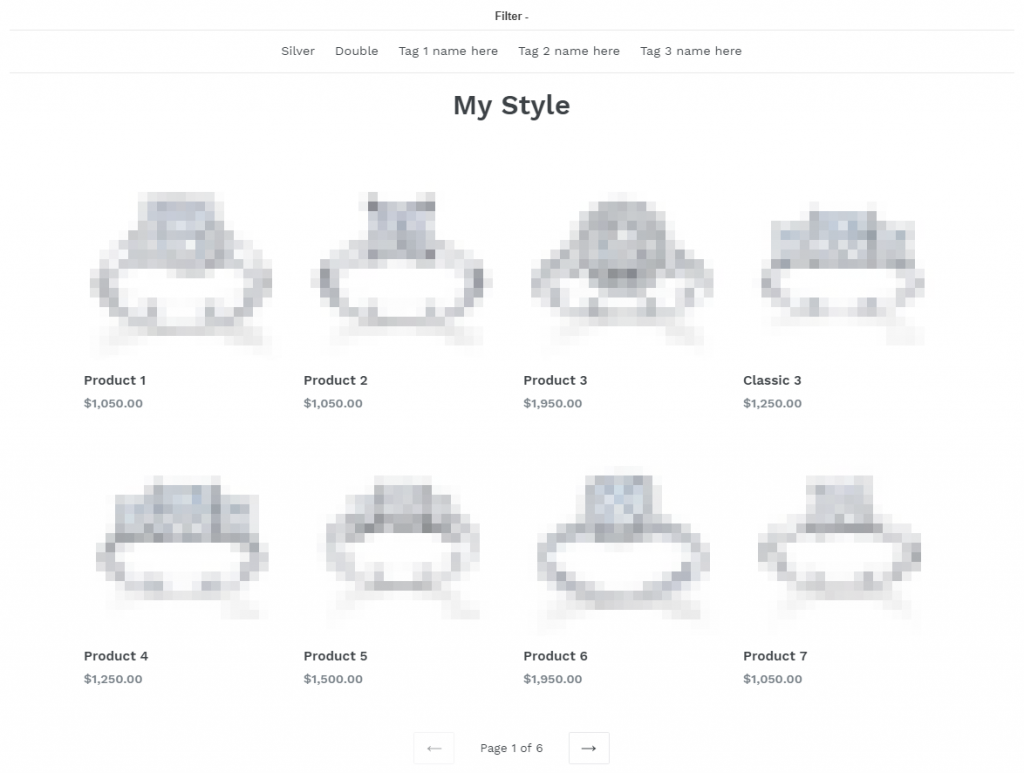
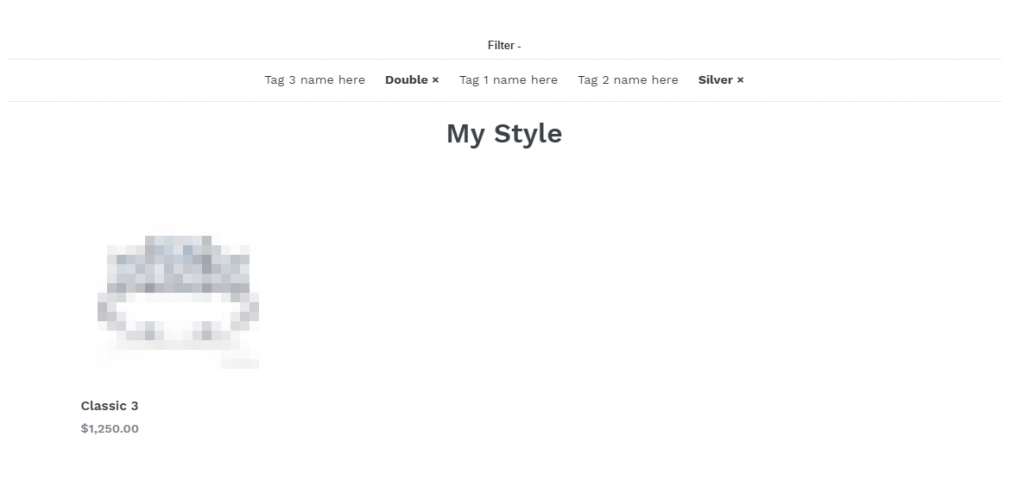
Above page is My Style collection page. You can see filter tool bar with all relavant product types (Filter links) under that section.
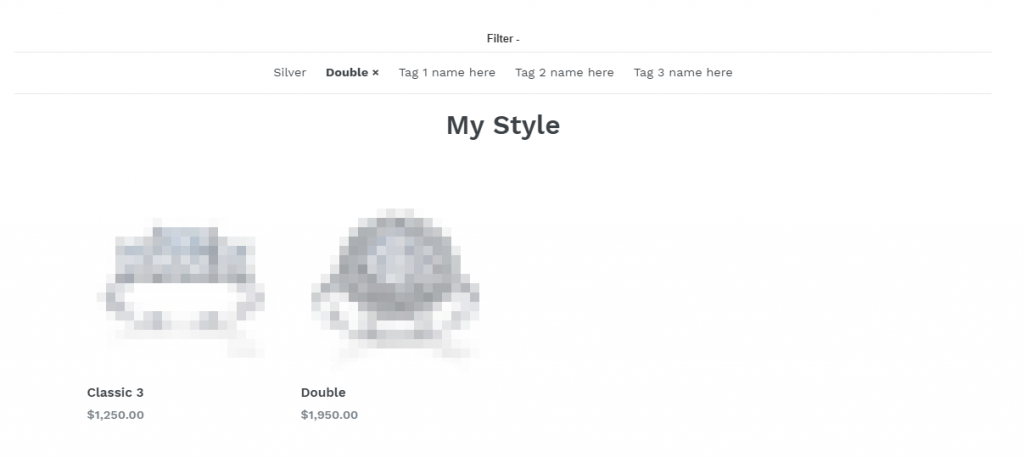
Once you click on filter links like in above example “Double”, it will show all products with tags “My Style & Double”. Refer below screenshot to view filter results.
Now, click on more filter link, like in example “Silver”. Then, filter code will show products which have all three tags “My Style, Double, Silver”. Refer below screenshot to see accurate filtered results.
By following this post, Shopify developers will easily able to include filter options in product list page, which is not available by default, but still the very core necessity of any e-commerce solution provider, where large number of products are listed under a category.
A lightweight version of Laravel full-stack framework named as Lumen micro-framework, is introduced to strip down loading speed. Lumen is for tasks and parts that...

Comments
Leave a message...