21 Easy Steps to Implement Google Tag Manager (GTM)
-
 Aug 29, 2018
 - General

Digital marketing is essential for all types of websites, whether it is an e-commerce site, a blogging site, a personal website etc. It is necessary to understand how users interact with the site, how your website engages users. To analyse such vital things about your website, Owner (Website’s owner) use the help of Google Analytics, but it has limitations with it (Programming skills always needed to customize things). To overcome this Google introduced a tool called GTM (Google Tag Manager). It allows you to collect more data from web application by minimizing the efforts of manual coding. It is a completely free tool.
Introduction to Google Tag Manager
GTM provides snippet which needs to include in the head section of every page. It provides a variety of tags for different purposes like tracking clicks of an element in a page, forms submissions tracking, tracking scrolling in a page, tracking product added or removed from the cart etc. Generally, website owner hires a developer to implement such code but by using GTM website owner can do it on their own. This is the biggest benefit of GTM.

Components of GTM
There are mainly four components in GTM
- Tags : A tag is a code snippet which executes on a certain action and sends data to the third party. The most common type of tags is Google Analytics Tag and Google AdWords Tag.
- Triggers : Every tag serves for a specific purpose on the website. Maybe you want to have a tag to send information when someone downloads a file, or when a link is clicked, or when a form is submitted. So such events are known as triggers. Every tag must have one trigger associated with it – without trigger there is no meaning to create a tagThere are two major things to configure a trigger in GTM.
- Trigger Type : Various built-in trigger types are Page View, Window Load, Link Click, Form Submission, Scroll Depth, etc.
- Filter : Filters can be divided further into three sub-categories: Variables, Operators and Values. We will discuss variables in the next section. Operators include contains, greater than, equal, etc. and the value is the condition which needs to be fulfilled.So for example, if you want to send data to third-party from order’s success page then you need to configure trigger like belowTrigger Type: Page ViewFilterVariable: URL pathOperator: containsValue: /checkout/onepage/success

- Variables: As Trigger is necessary for Tag, similarly Variable is necessary for a trigger. It is like a placeholder which holds dynamic values, for example, product name, customer date of birth etc. GTM has built in variables as below.

GTM Integration
To integrate GTM with your website, You will need to create an account at
https://tagmanager.google.com/ and include the snippet at an opening section of HEAD tag in every page of your website.
Please follow the link (https://support.google.com/tagmanager/answer/6103696) for detailed installation guide.
21 Easy Steps to implement Google Tag Manager (GTM)
GTM is also very useful when you want to inject HTML, CSS or JavaScript in any page directly without editing any file manually in the project. Additionally, you can preview entire implementation before actual uploading to Production.
Let’s implement an example for the same with the help of GTM.
Objective: Implement cookies and privacy policy notification in every page like
https://www.jqueryscript.net/demo/GDPR-Cookie-Consent-Popup-Plugin using GTM.
To do so, please follow below instructions.
1. Login into GTM account and click on “New Tag”

2. Click on “Tag Configuration”

3. Choose “Custom HTML” option from available built in options

4. Add custom HTML like below. You can add anything like font family, CSS, JavaScript code.
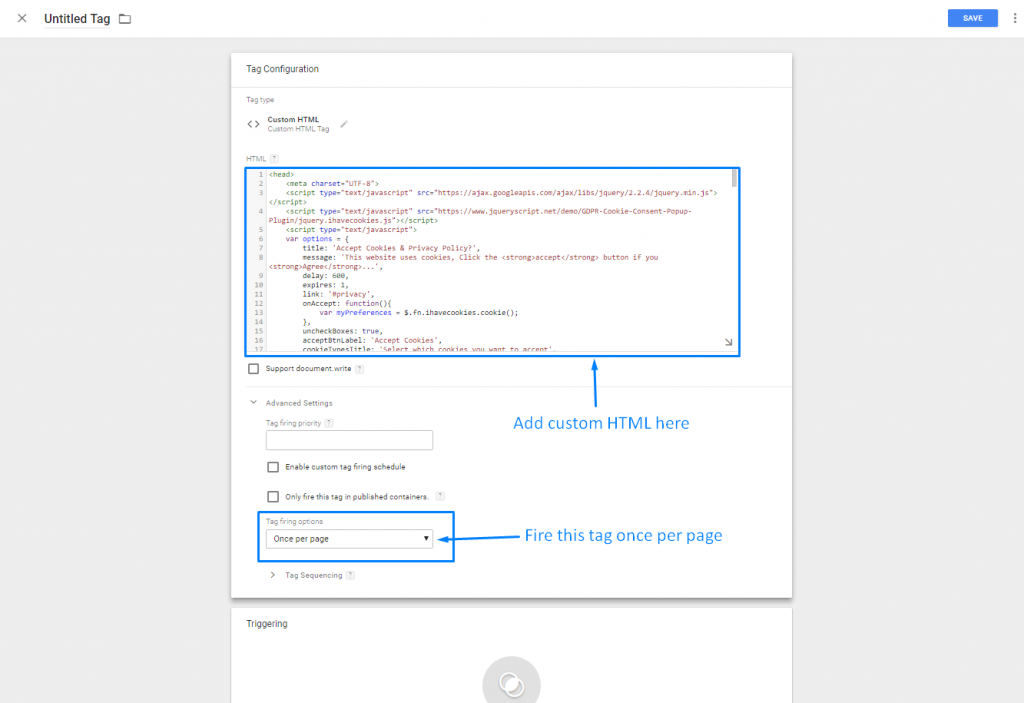
Notice that, In “Tag firing options” select option “Once per page”
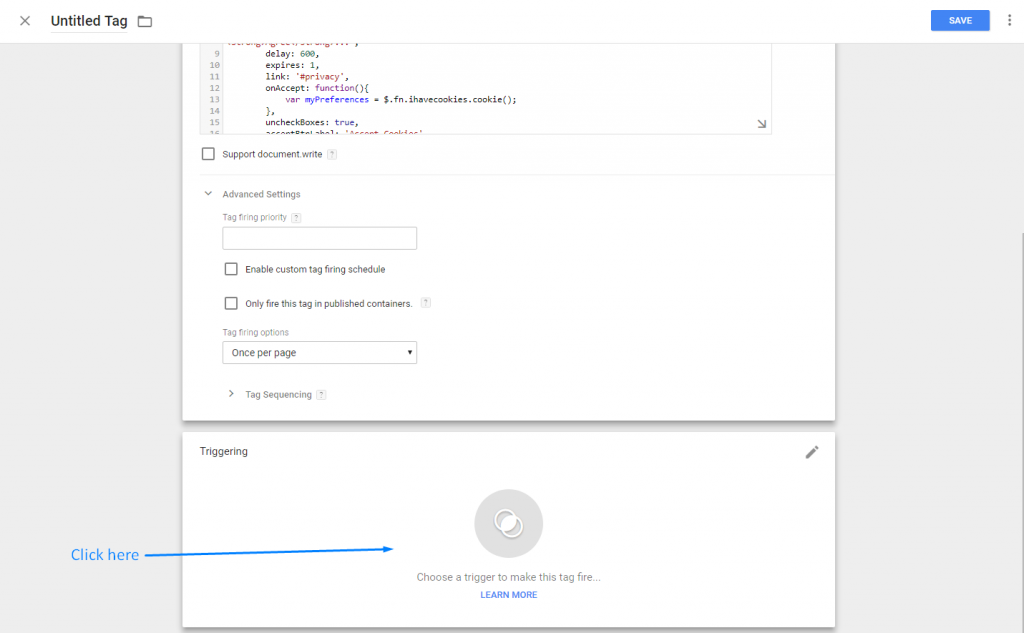
5. Tag configuration is complete, Now it’s time to setup trigger or condition on which you need to include this tag. Every tag must have associated with one trigger at least. Please follow the below for configuration.
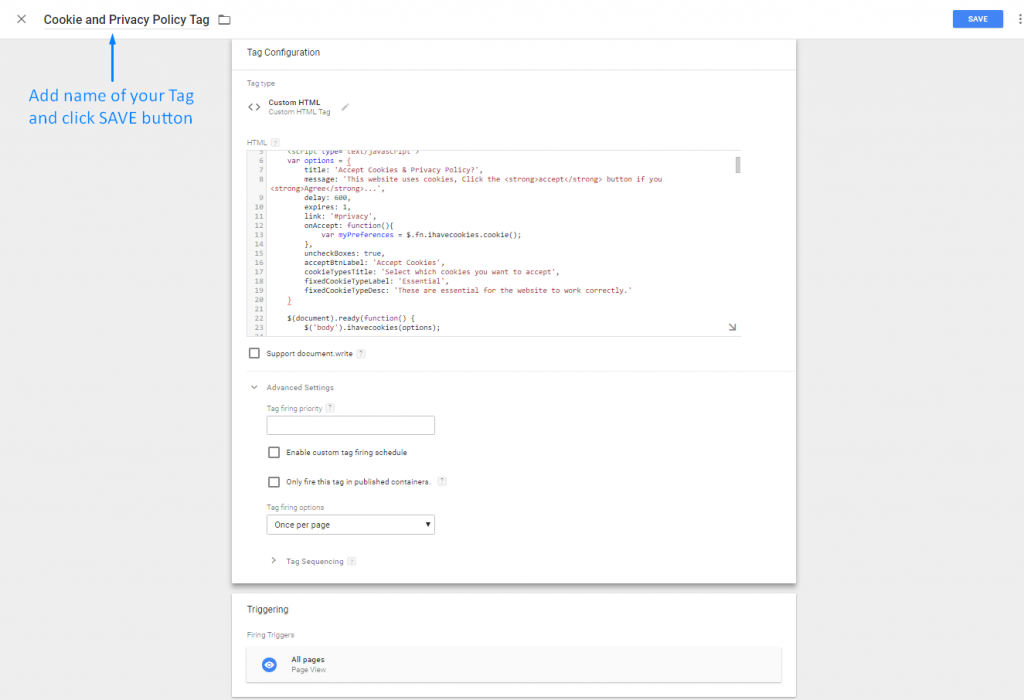
6. As we need to show popup in every page of a website, select “All pages” option

7. Tag is configured now, it’s time to add meaningful name and save it
8. You can see newly created tag in Tags page

9. Let’s preview the change before submitting to the web application development

10. Preview mode will be enabled in GTM

11. Now go to your website and verify the popup

12. Click “Debug” in the bottom of the page to see all the tags associated with your website.
13. Now as you have verified your tag, it’s time to leave preview mode

14. To publish changes to website click SUBMIT button

15. Enter Descriptive name and click PUBLISH

16. Tag published successfully

17. You can verify it from your website

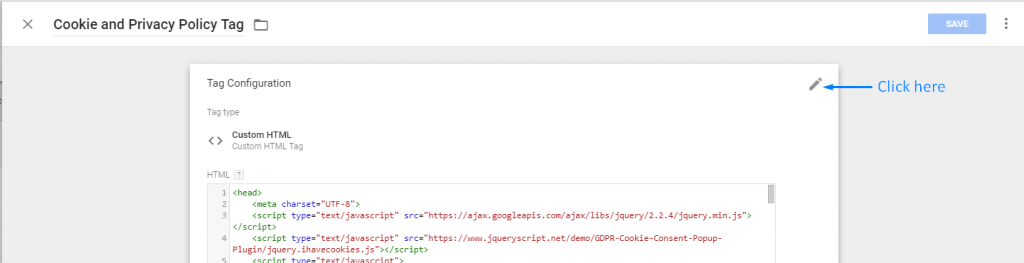
18. To pause a tag, go to Tags page and click your tag

19. Click on “Edit“ icon
20. Choose “Pause” option
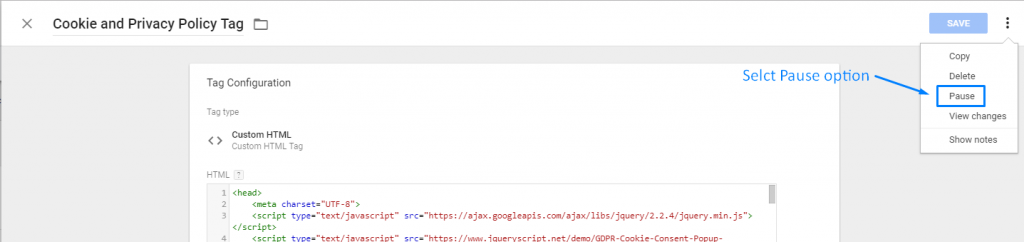
21. After that SAVE the Tag and PUBLISH it again.
By this way you can manage tags visibility and have a quick view to the digital marketing strategy implementation to your solution
There might be a case where you have a table which stores a lot of data for a dataset, and data might range from 500...

Comments
Leave a message...